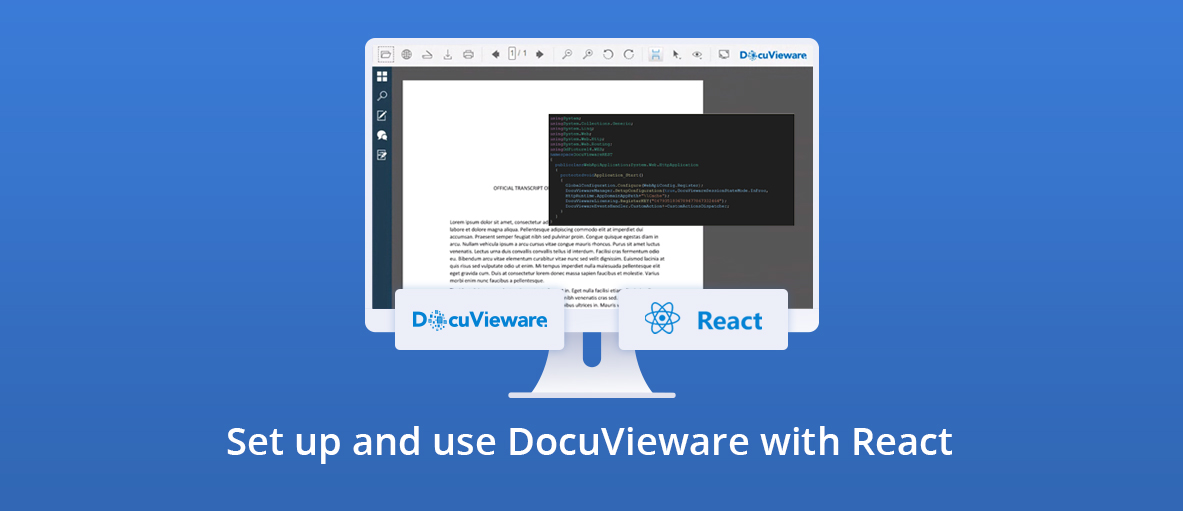
One of the promises of the modern internet is that we’d be able to freely exchange a multitude of document types, to work on together and share with colleagues. We’re not quite there yet, but getting a lot closer with tools like DocuVieware that let us collaborate with others even if they don’t have the same software.
One of the problems with documents is that they frequently contain information that needs to be kept secure within an organization or added to a workflow in a particular way. Workflow integration of a myriad of document and information file format types could be a veritable development nightmare, but it now it doesn’t have to be. It’s in these use cases that DocuVieware shines.
DocuVieware is a development library that lets users view, edit, and process documents in a multitude of ways while keeping the user comfortably within your organization’s web-based application. Using DocuVieware is extremely simple: it handles all of the complexity of document manipulation, and all you need to do is call a simple API you can host on your own server. In addition to simple editing, the library lets you offer end-user features like annotation, redaction, compression, e-signing, and more.
From a developer’s point of view, it’s a technology that’s easy to implement and customize, quickly and easily adding tremendous value to your application.
Using React to Host DocuVieware
One of the most popular frameworks for building browser-based applications is React, and it’s the perfect vehicle for hosting DocuVieware.
In this article, we’ll show you how to set up and use DocuVieware in a web application using the React framework. As React is a front-end technology, we need a process to host it on a server and deploy it to the browser. To achieve this, we’ll use a .NET WebAPI application, which will also act as the server-side deployment host for the DocuVieware technology.
Setting Up the Project
The first step is to download and install the DocuVieware SDK, then install DocuVieware and the core GdPicture.NET package. When you’re done, you can start setting up the WebAPI application.
The easiest way to get a .NET WebAPI app up and running is to use the helpers built into Microsoft Visual Studio. In Visual Studio, start a new project and choose an ASP.NET application. Then select the empty template and ensure the Web API checkbox is ticked.
Note that DocuVieware uses version 4.6 of the .NET Framework, so be sure the project is set to use this.
Once you approve the default settings, Visual Studio takes care of building out the scaffolding required for this project.
After creating the project in Visual Studio, we need to add a number of required libraries.
In Solution Explorer, select the references section and import GdPicture.NET.14.WEB.DocuVieware.dll from the [INSTALLATION FOLDER]\Redist\DocuVieware (.NET Framework 4.6)\ folder. It’s important to mark this as Copy Local.
You also need to copy over the files needed for distribution, which are found in the [INSTALLATION FOLDER]\Redist\ folder. Select the DLLs relevant to the server you’re deploying on, 32- or 64-bit. The distribution libraries should be added to the references using the add command, not add link.
Finally, as with the core DLL, we need to set some build options, so set the « Build Action » property to « Content » and the « Copy to Output Directory » property to « Copy always » for each file.
We’re now ready to configure the API.
Licensing the DocuVieware API
To use DocuVieware, you first need to set its license key. This is done in the Global.asax.cs file in the root folder of the application:
usingSystem;
usingSystem.Collections.Generic;
usingSystem.Linq;
usingSystem.Web;
usingSystem.Web.Http;
usingSystem.Web.Routing;
usingGdPicture14.WEB;
namespaceDocuViewareREST
{
  publicclassWebApiApplication:System.Web.HttpApplication
  {
    protectedvoidApplication_Start()
    {
      GlobalConfiguration.Configure(WebApiConfig.Register);
      DocuViewareManager.SetupConfiguration(true,DocuViewareSessionStateMode.InProc,
      HttpRuntime.AppDomainAppPath+"\\Cache");
      DocuViewareLicensing.RegisterKEY("0479351806789477867332464");
      DocuViewareEventsHandler.CustomAction+=CustomActionsDispatcher;
    }
  }
}
Setting the license consists of adding a reference to the core library (using GdPicture14.WEB) and passing in initial settings to let the library know where to store temporary cache files. You’ll find a great walk-through of the entire process on the DocuVieware website.
